Site Preparation and Planning
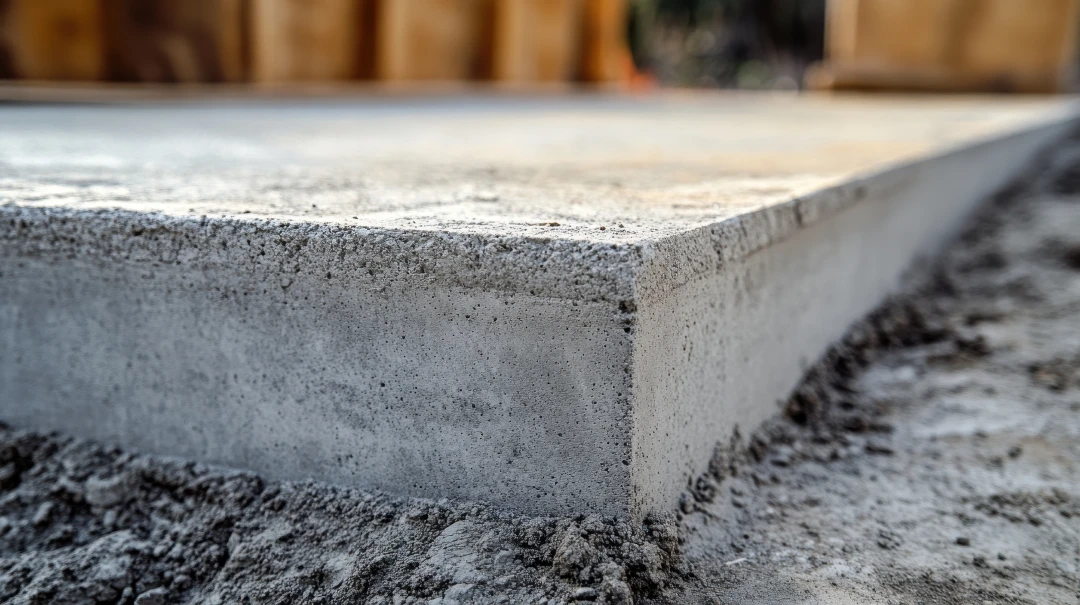
Proper site preparation forms the foundation of a successful concrete slab installation. In Little Rock and surrounding communities, where clay-heavy soil can shift with seasonal moisture changes, this stage demands particular attention to detail.
Begin by clearly marking the slab boundaries using stakes and string lines. Ensure all measurements account for the intended use, whether you’re building a patio, garage floor, or driveway. Excavate the area to a depth that accommodates both the concrete thickness and the sub-base layer. For residential applications in central Arkansas, a 4-inch slab over a 4-inch gravel base typically provides adequate support.
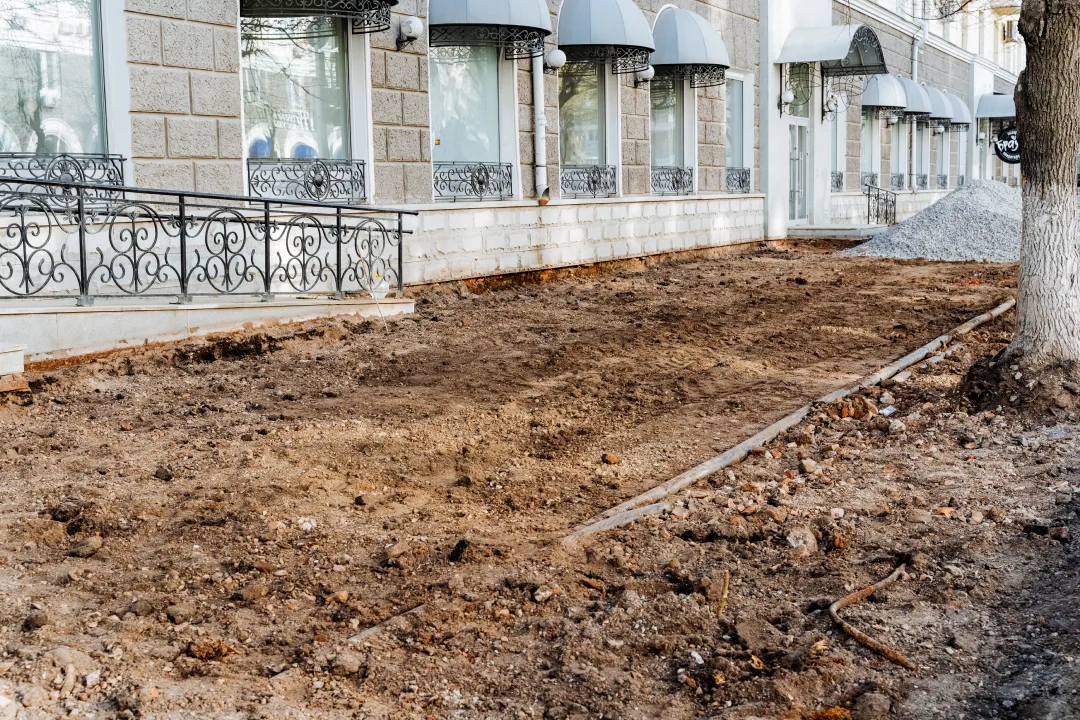
Remove all organic material, vegetation, and loose soil from the excavation area. The native clay soil common throughout Cabot and North Little Rock requires a stable aggregate base to prevent settlement. Compact the exposed soil thoroughly using a plate compactor, making multiple passes to achieve firm, uniform density. Any soft spots or irregularities at this stage will telegraph through to the finished surface.
Check for proper drainage away from adjacent structures. Central Arkansas receives an average of 50 inches of annual rainfall, making water management a critical consideration. Grade the site to direct runoff away from foundations and ensure the sub-base will remain stable through wet seasons.
Building the Gravel Base
The gravel base serves as a critical buffer between the concrete and the ground, providing drainage, preventing moisture wicking, and distributing the load evenly. This layer becomes especially important in areas with expansive clay soils that characterize much of the Little Rock metropolitan region.
Spread crushed stone or gravel uniformly across the excavated area to a depth of at least 4 inches. Three-quarter-inch crushed limestone works well for residential projects, offering excellent compaction characteristics and drainage properties. Avoid using rounded river rock or pea gravel, as these materials do not lock together and will shift under load.
Compact the gravel in 2-inch lifts rather than attempting to compact the entire depth at once. Use a vibratory plate compactor, working in overlapping passes across the entire surface. Proper compaction prevents future settlement that could crack the concrete. The surface should feel solid underfoot with no visible movement when walked upon.
Use a long straightedge or laser level to verify the base is properly graded. The surface should slope gently away from buildings at a minimum rate of one-quarter inch per foot. This gradient ensures water sheds away from structures while remaining imperceptible to the eye. Take time at this stage to achieve accuracy, as correcting elevation issues becomes exponentially more difficult once concrete placement begins.
Installing Forms and Reinforcement
Forms define the perimeter of your slab and control the concrete during placement. Straight, dimensional lumber such as 2x4s or 2x6s works well for most residential applications. Secure the boards with sturdy stakes driven at least 12 inches into the ground at intervals of 3 to 4 feet.
Set the top edge of the forms to the desired finished elevation of the slab. Use a builder’s level or transit to ensure consistency across the entire perimeter. The forms must remain rigid during the concrete pour, as any movement will create irregularities in the finished surface. Brace outside corners with additional stakes and check that all boards align in perfectly straight lines or smooth curves.
Place reinforcement according to structural requirements. For standard residential slabs in central Arkansas, wire mesh or a grid of #3 rebar spaced 18 inches on center provides adequate crack control. Position the reinforcement in the middle third of the slab thickness using chairs or dobies to maintain proper elevation. Steel placed too close to the bottom offers minimal benefit, while reinforcement too near the surface risks exposure and corrosion.
Install control joints or form dividers for larger slabs. Concrete naturally wants to crack as it cures and experiences temperature changes. By creating predetermined weak points at regular intervals, you control where those cracks occur. Space control joints at intervals no greater than two to three times the slab thickness in inches, expressed in feet. For a 4-inch slab, place joints every 8 to 12 feet in both directions.
Ordering and Placing the Concrete
Calculate the required concrete volume precisely to avoid shortages or excessive waste. Multiply length by width by thickness, converting all measurements to feet, then divide by 27 to determine cubic yards. Add 10 percent to account for over-excavation, spillage, and variations in sub-grade elevation. Ready-mix concrete delivered by truck offers consistent quality and proper hydration that are difficult to achieve with multiple bags of dry mix.
Specify a mix design appropriate for the application. For exterior flatwork in North Little Rock and surrounding areas, a 3,000 to 4,000 psi mix with air entrainment provides durability against freeze-thaw cycles. Request a 4 to 5-inch slump for workability without excessive water that weakens the finished product. Schedule delivery for early morning during summer months, as central Arkansas heat accelerates curing and shortens the working window.
Position the concrete truck as close to the forms as safely possible. Have adequate personnel on hand, as concrete placement moves quickly once it begins. Direct the chute to place concrete in the farthest corner first, working systematically back toward the truck position. Avoid letting concrete drop from heights greater than 4 feet, as this can cause segregation of the aggregate.
Spread the concrete evenly using rakes and shovels, slightly overfilling the forms. Work the material into corners and along edges, ensuring complete contact with the forms. Use a screed board, typically a straight 2×4 that spans the width of the pour, to strike off the excess concrete. Rest the screed on the form boards and use a sawing motion while advancing it forward to create a level surface. Make multiple passes, adding or removing material as needed to achieve a uniform surface flush with the top of the forms.
Finishing and Curing
Allow the concrete to stiffen slightly before beginning finishing operations. Working the surface too early brings excess water to the top, weakening the finished product. Wait until surface water has evaporated and the concrete can support your weight on knee boards before proceeding with floating.
Use a bull float or hand float to smooth the surface and embed the aggregate just below the surface. Work the float in overlapping arcs, keeping the leading edge slightly elevated to avoid digging into the concrete. This process levels ridges left by screeding and fills small voids, creating a uniform plane.
Edge the perimeter using an edging tool once the surface has firmed enough to hold its shape. Run the edger between the form and the concrete, creating a slightly rounded corner that resists chipping. Follow with a groover to cut control joints at predetermined locations, using a straight board as a guide to ensure clean, straight lines.
Apply the final finish according to the desired texture. For most exterior applications in Cabot and Little Rock, a broom finish provides excellent traction in wet conditions. Draw a soft-bristle broom lightly across the surface in straight, overlapping passes after troweling. The result should show uniform texture without deep grooves that collect dirt or make cleaning difficult.
Begin curing immediately after finishing. In the central Arkansas climate, where temperatures frequently exceed 90 degrees during construction season, proper curing becomes critical to achieving design strength. Cover the slab with plastic sheeting or apply a liquid curing compound to slow moisture loss. Keep the surface continuously moist for at least seven days by misting with water several times daily.
When you need reliable results for foundation work, driveways, patios, or any flatwork project throughout Little Rock, Cabot, and North Little Rock, working with experienced professionals makes the difference between a slab that lasts decades and one that develops problems within months. Planit Dirt Excavation and Concrete Inc. brings specialized knowledge of local soil conditions, proper preparation techniques, and finishing methods that account for central Arkansas weather patterns. From accurate site assessment and excavation and grading through final finishing, professional installation ensures your investment delivers the performance and durability you expect.